In the last few blog posts we learned about the basics of 3D printing using modeling clay (Part 1 and Part 2). If we want to use an actual 3D printer, we need to provide a set of instructions so that the computer knows what to print. That is where 3D modeling programs come in. Today we will focus on a free modeling software that is designed for kids, called Tinkercad.
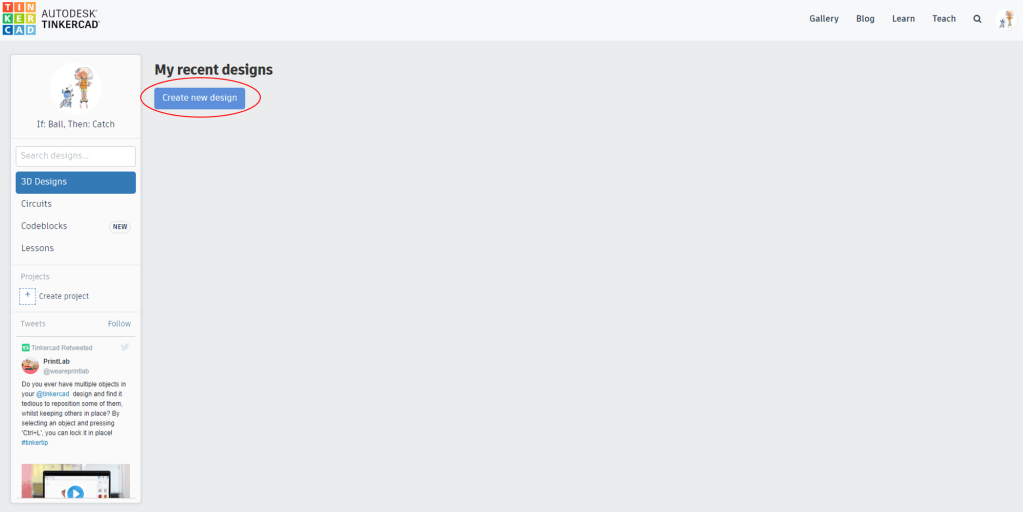
When you first get to the Tinkercad website you will need to create an account. I would highly recommend that you work through the lessons that begin automatically after you create an account.
If you want to get started faster you can also consider completing their starters. These give a quick introduction into topics such as:
- Viewing the model
- Placing, rotating, resizing, and moving objects
- Grouping and aligning objects
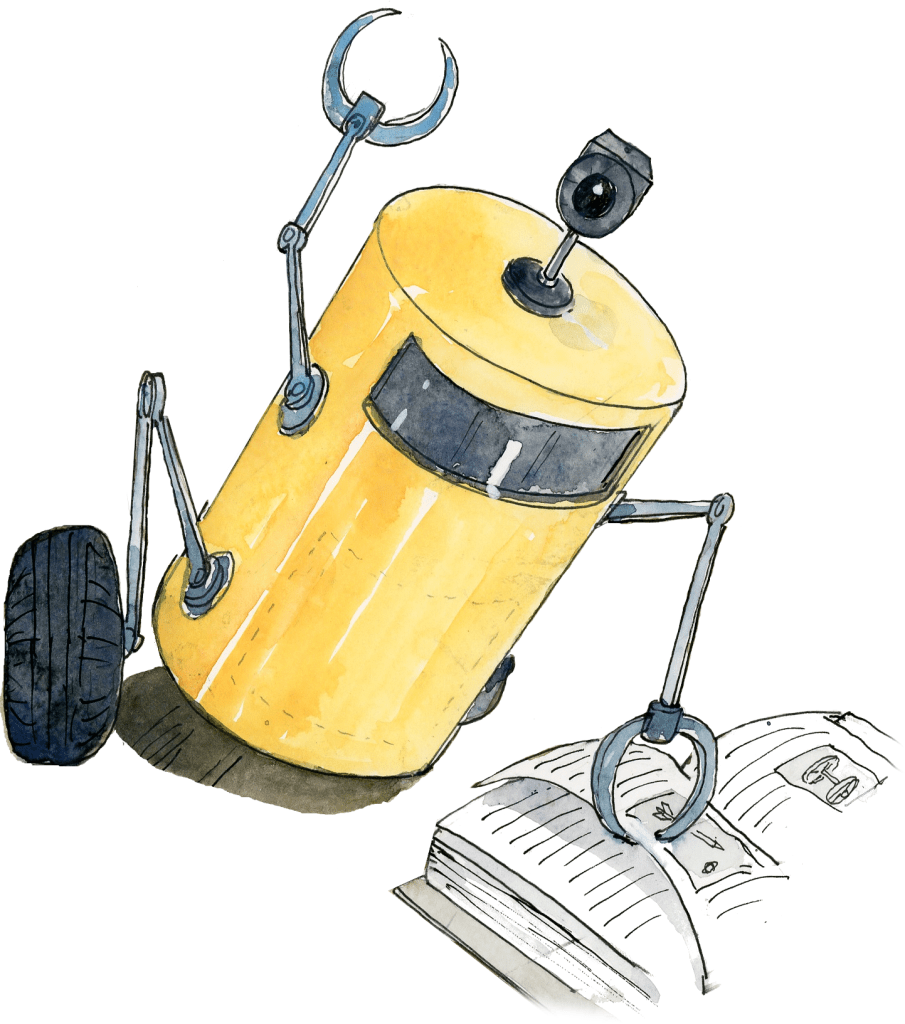
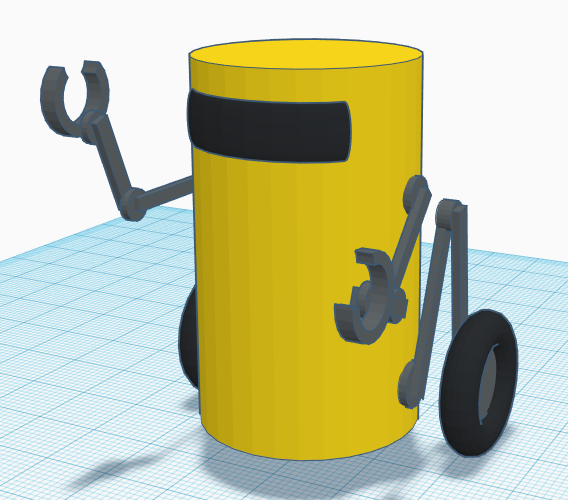
Once you are feeling comfortable with using Tinkercad, it’s time to create your model! Think about what you would like to build. I am going to build TC (the Tin Can robot) from If: Ball, Then: Catch.
In the Tinkercad dashboard, click “Create new design”:
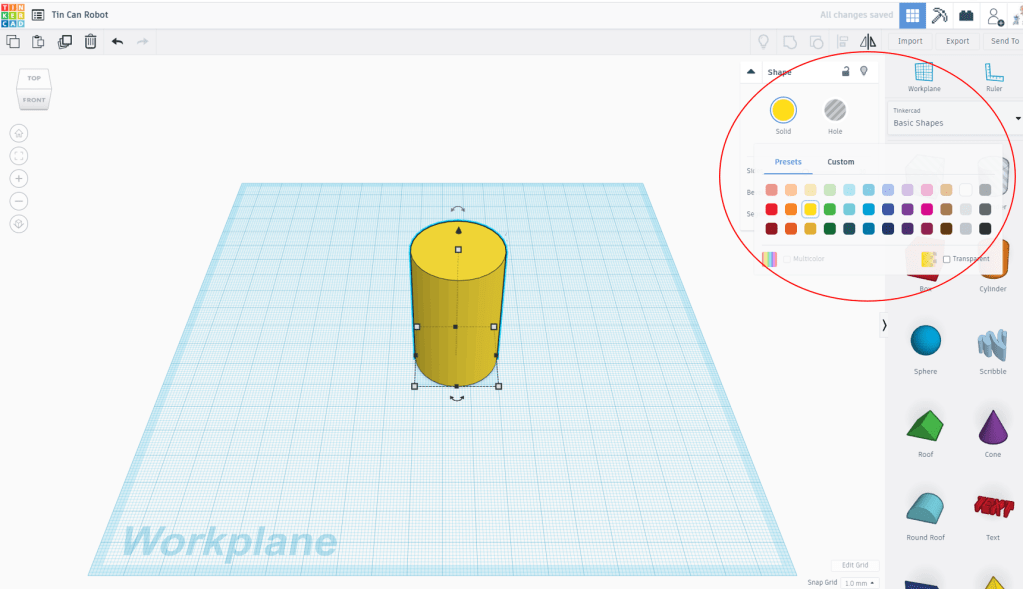
This is the design workplane. Be sure to give your design a name!
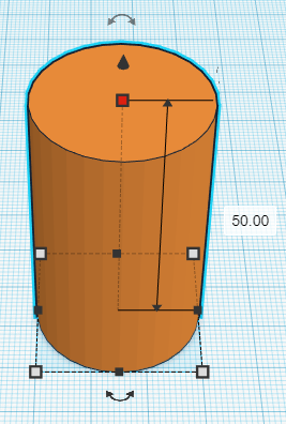
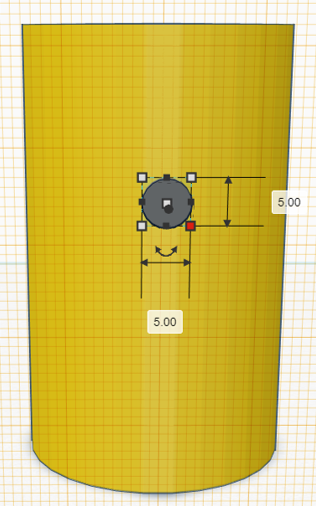
First, I dragged a cylinder onto the workplane, and then I adjusted the size (height, width, and depth).

Then I changed the colour of the cylinder to yellow.
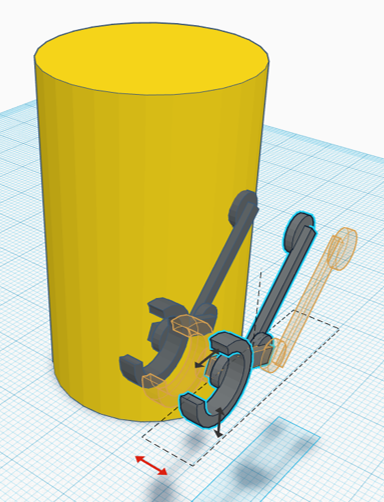
Next I added an arm. I moved the workplane to the side of the yellow cylinder.

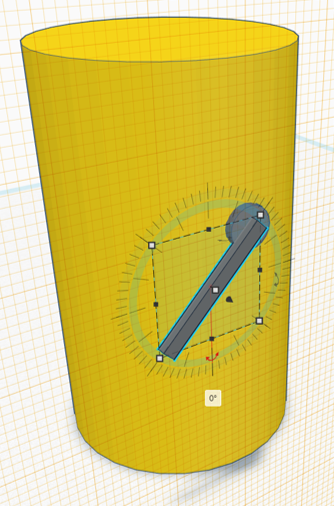
Then I added two solid cylinders and two solid boxes to build the arm.
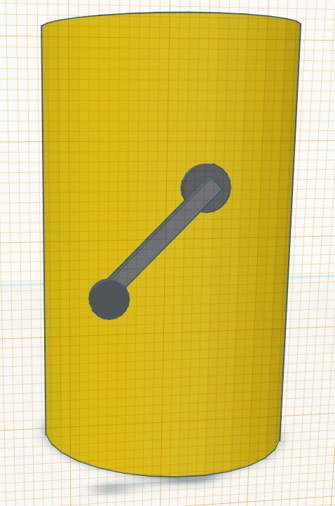

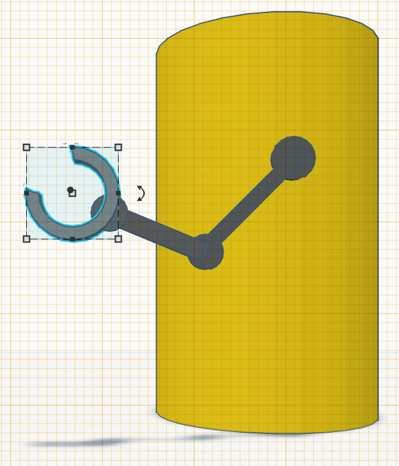
Next I added the hand. First I placed a solid tube, then I added a hole cylinder. When I grouped the shapes the cylinder was removed from the tube so that I was left with a hand. Finally, I grouped all the arm pieces together.


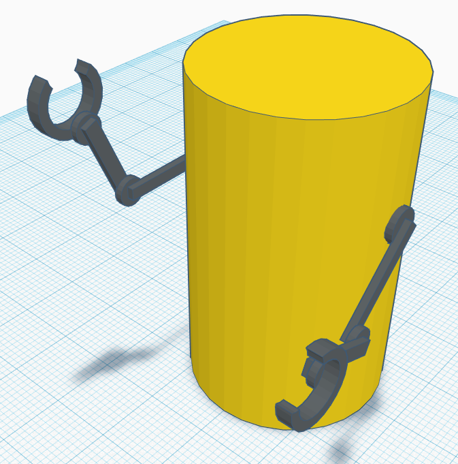
I duplicated the arm, mirrored it, then moved it to the other side of the yellow cylinder to create the second arm. Then I rotated it a bit.
I used a similar process to create the legs. To create the wheel I used a solid torus and a solid cylinder.
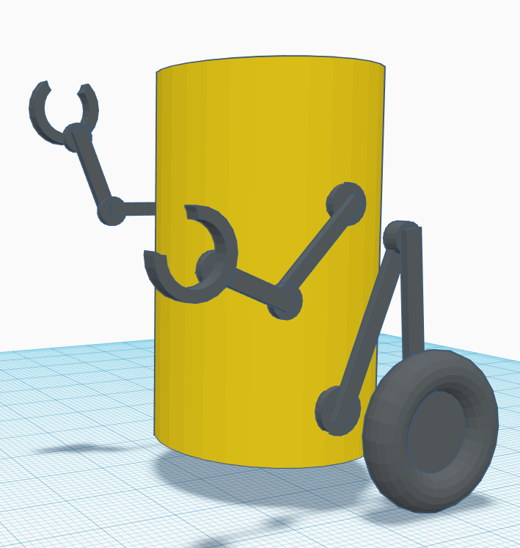
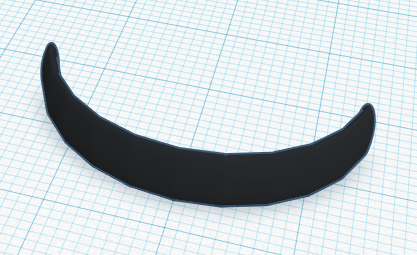
I created the eyes by placing a solid ring, then adding a hole box. When I grouped the shapes the box was removed from the ring so that I was left with just the eyes, which I dragged onto TC.

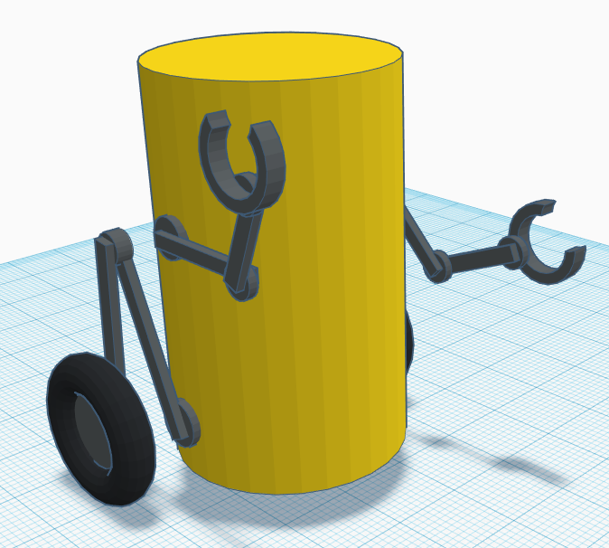
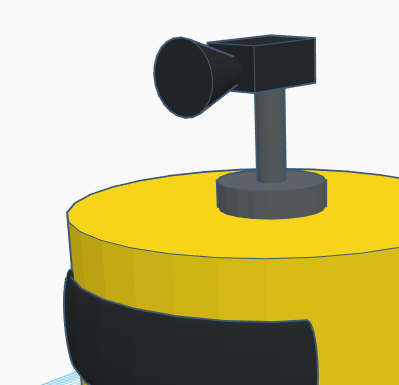
Finally, I added the camera on his head using two solid cylinders, a solid box, and a solid cone.
With that, TC was complete! You can click and drag this model to look at different angles. It almost seems like TC is ready to make a speech. I wonder what he would like to say?
If you would like to take a closer look at this model of TC, you can access the design on Tinkercad here. I would love to see what other designs you come up with. Have fun tinkering! This activity is based on the book If: Ball, Then: Catch.
