Scratch is a fun (and free!) online program that lets you code using blocks. This program is great if you are over the age of 8 or if you have coded before. If this is your first time coding, you might prefer to use ScratchJr. Check out our blog post about ScratchJr to learn more.
Scratch allows you to make animations and games, as well as share them with people from all over the world! It is a great way to learn about coding.
Here is a link to the program I created in Scratch. Give it a try! First, click on the green flag. Then see what happens when you click on Sparky or the cat (works best with volume on). Watch out for the surprise when Sparky reaches the cat!
In this blog post, I will give you a quick overview of my program. For more details, I recommend checking out the Scratch tutorials, especially the one called “Getting Started”.
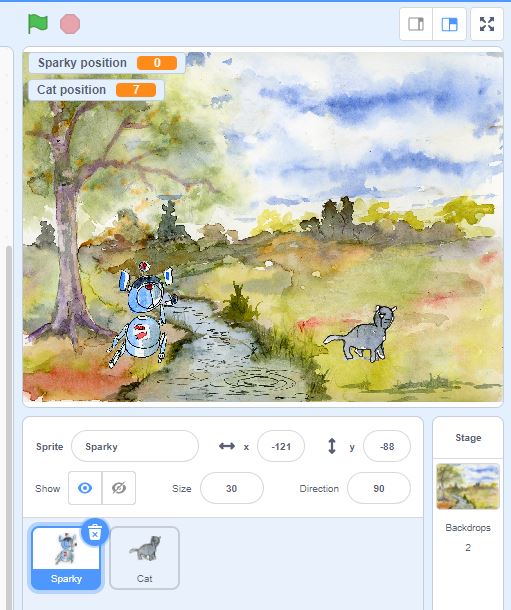
So what is happening inside Scratch? Let’s take a look. This is what a brand new project looks like:
On the left side you have different coding blocks. You will use these to build your program. The middle is where you drag the blocks and link them together. On the right you have your characters and backgrounds.
First, you can add your background and characters. You can either choose pre-made pictures, draw new ones in Scratch, or upload your own images. In Scratch, characters are called “sprites”. For this program, I added a background, as well as Sparky and the cat.
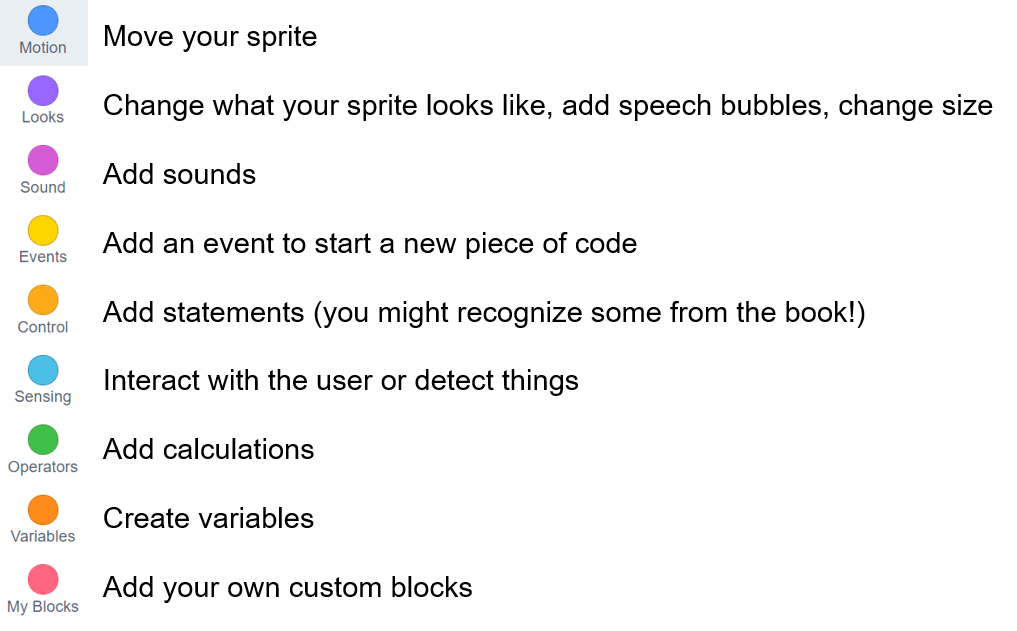
Once you have your characters, you can start building your program! Here are the different types of blocks:
Let’s build a code that makes Sparky bark each time we click on him! First, we add an Event:
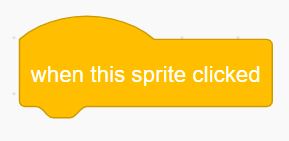
This Event means that any code we connect to it will run when we click on Sparky.
Next, let’s get Sparky to bark. We will drag in one of the Sound blocks, and select “Bark”:
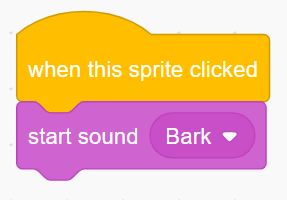
Now, every time we click on Sparky he will bark!
Let’s also add a speech bubble. We will drag in one of the Looks blocks, type in “Bark!”, and choose for the speech bubble to last for 1 second:

Now, every time we click on Sparky he will bark and a speech bubble will appear.
That is all it takes to create a program! Of course, you may want to add more. You can take a look at the code for my program here by clicking “See Inside” at the top right corner. In my program, you can see how Sparky and the cat interact together, and how to use an if/else statement (which you may recall from our book!).
You can also check out some really neat projects on the Scratch webpage. Don’t forget to complete the Scratch tutorials to learn more! This activity is based on the book If: Ball, Then: Catch.
