Have you ever heard of 3D printing? It is a really neat way of building things layer by layer until you have a three dimensional (3D) object. 3D printers use all kinds of different materials. The most common material is plastic, but there are also printers that work with metal, concrete, or even food!
Even without a 3D printer, we can learn a lot at home using modeling clay. What you will need:
- Per portion of modeling clay (makes about 1 cup):
- 1 cup all-purpose flour
- 1/4 cup salt
- 1/3 cup water
- Aluminum foil
- Food colouring (optional)
- Paint (optional)
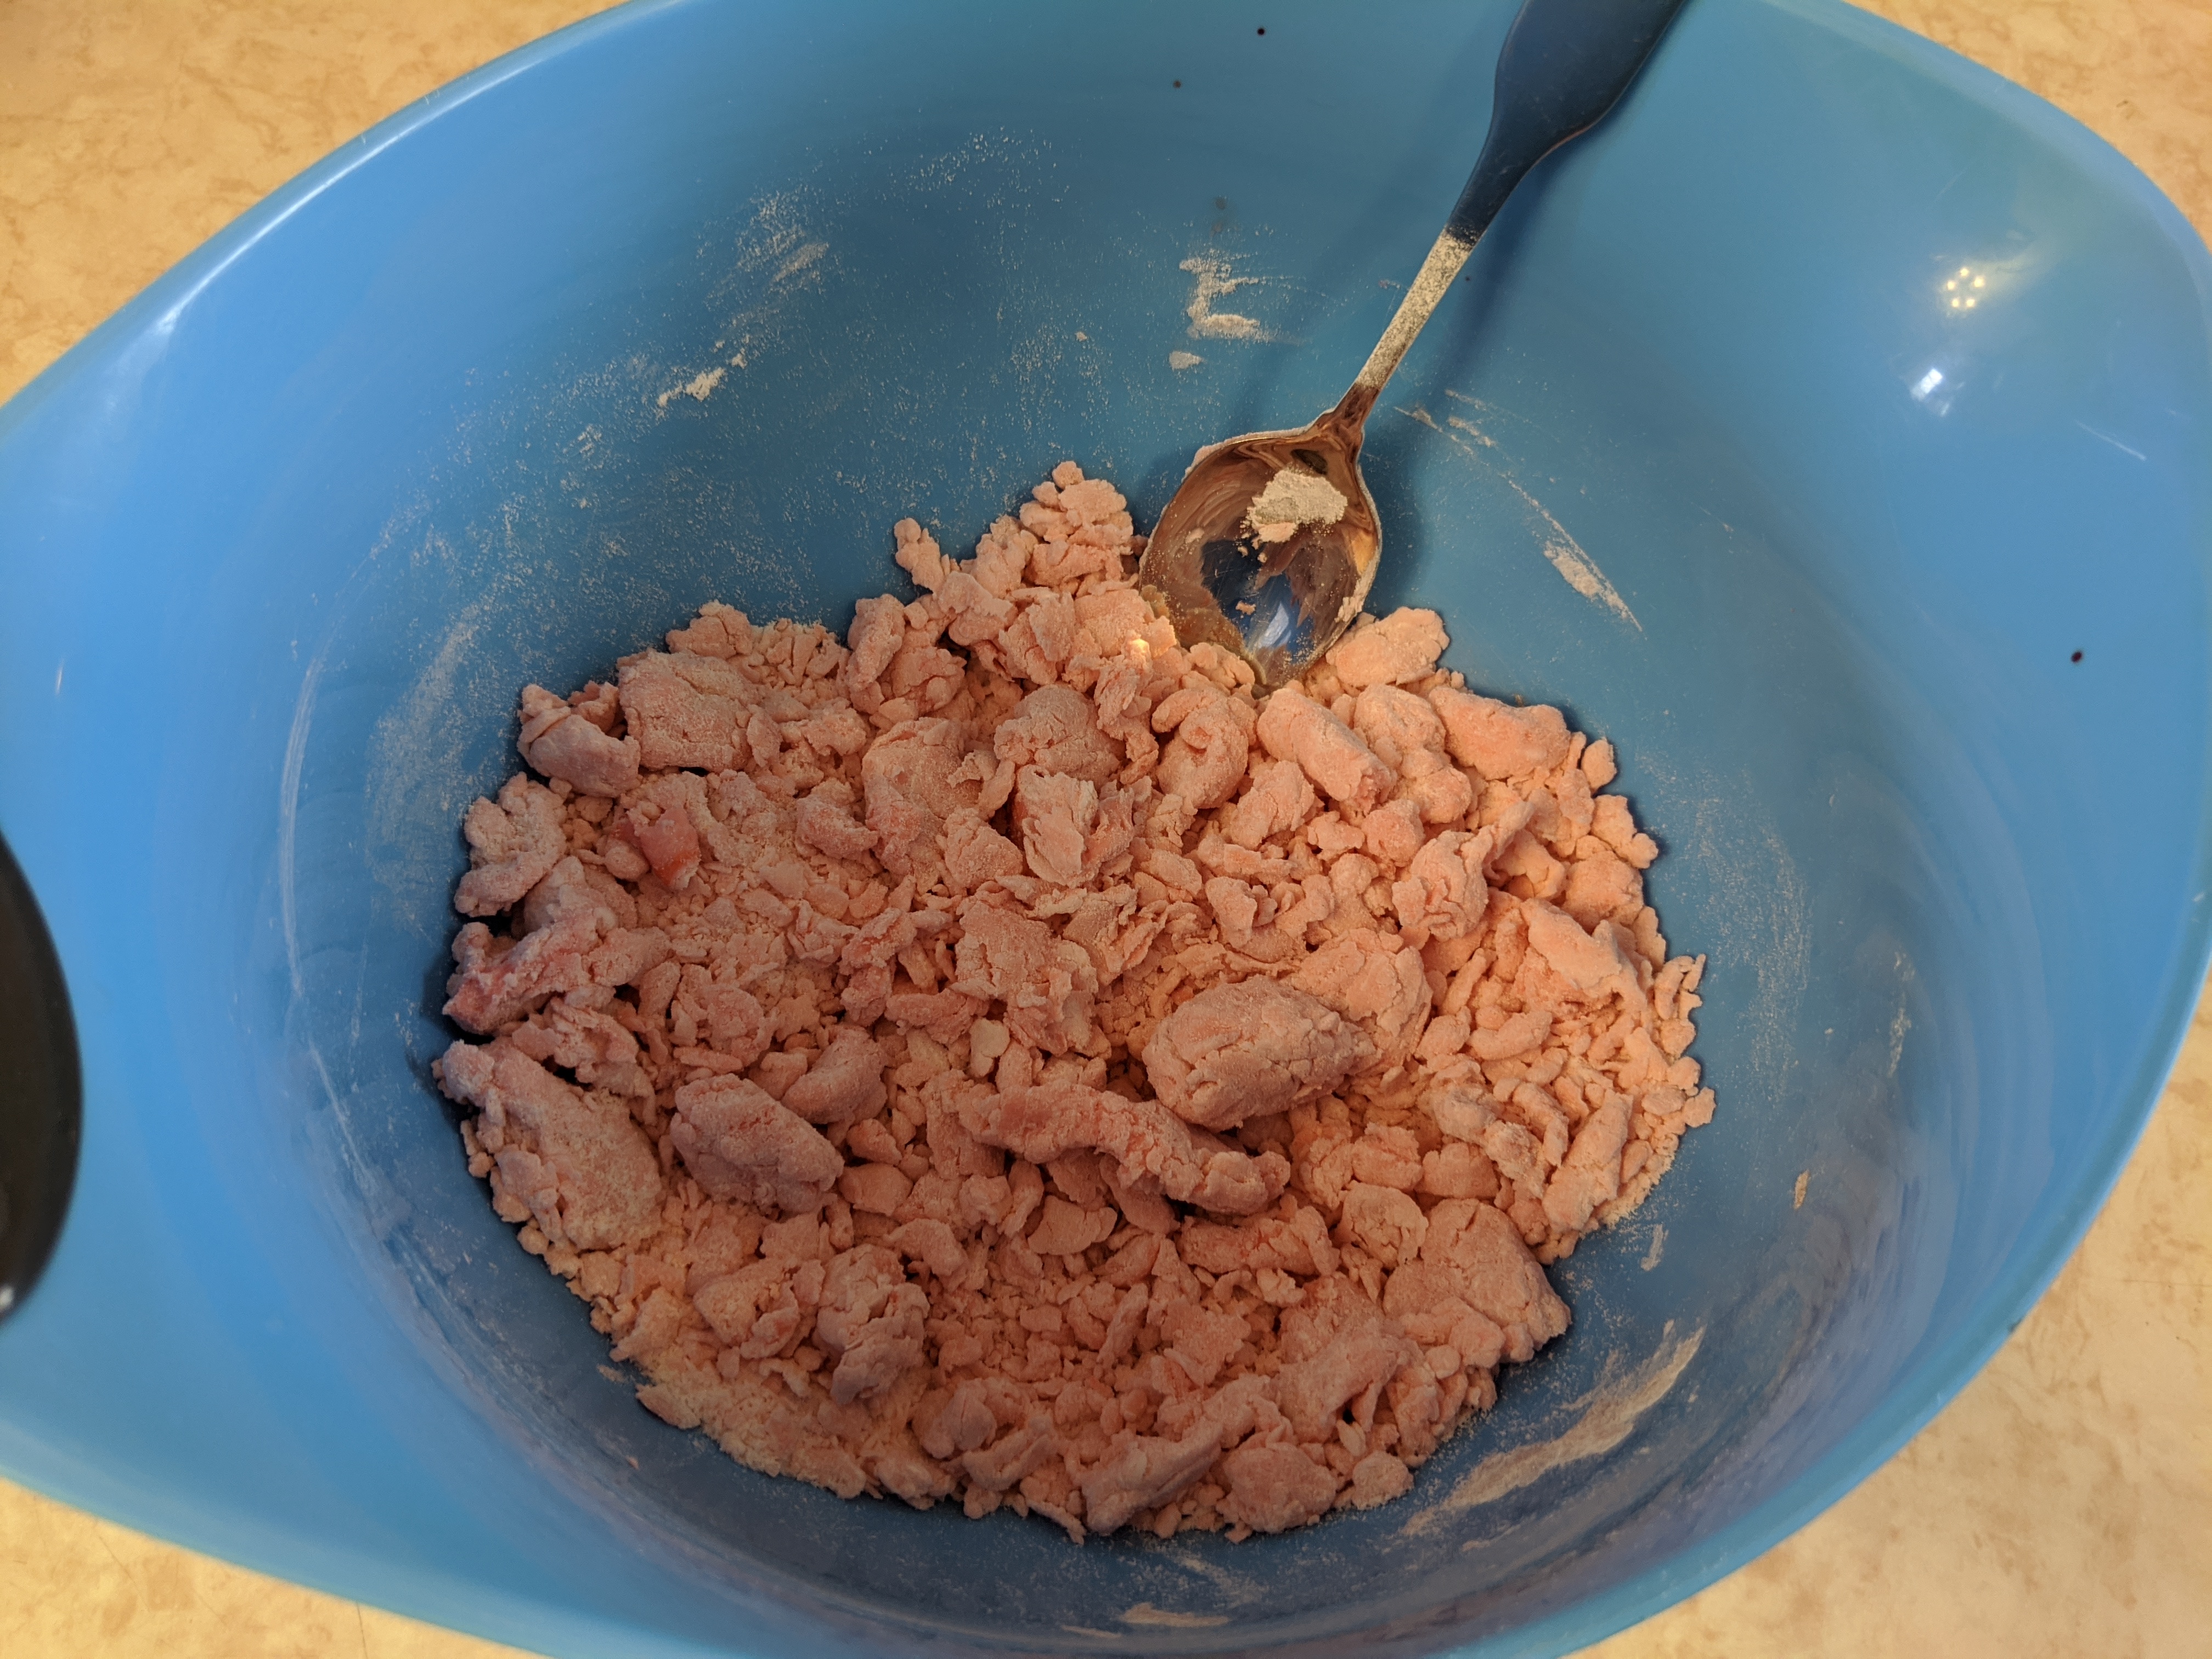
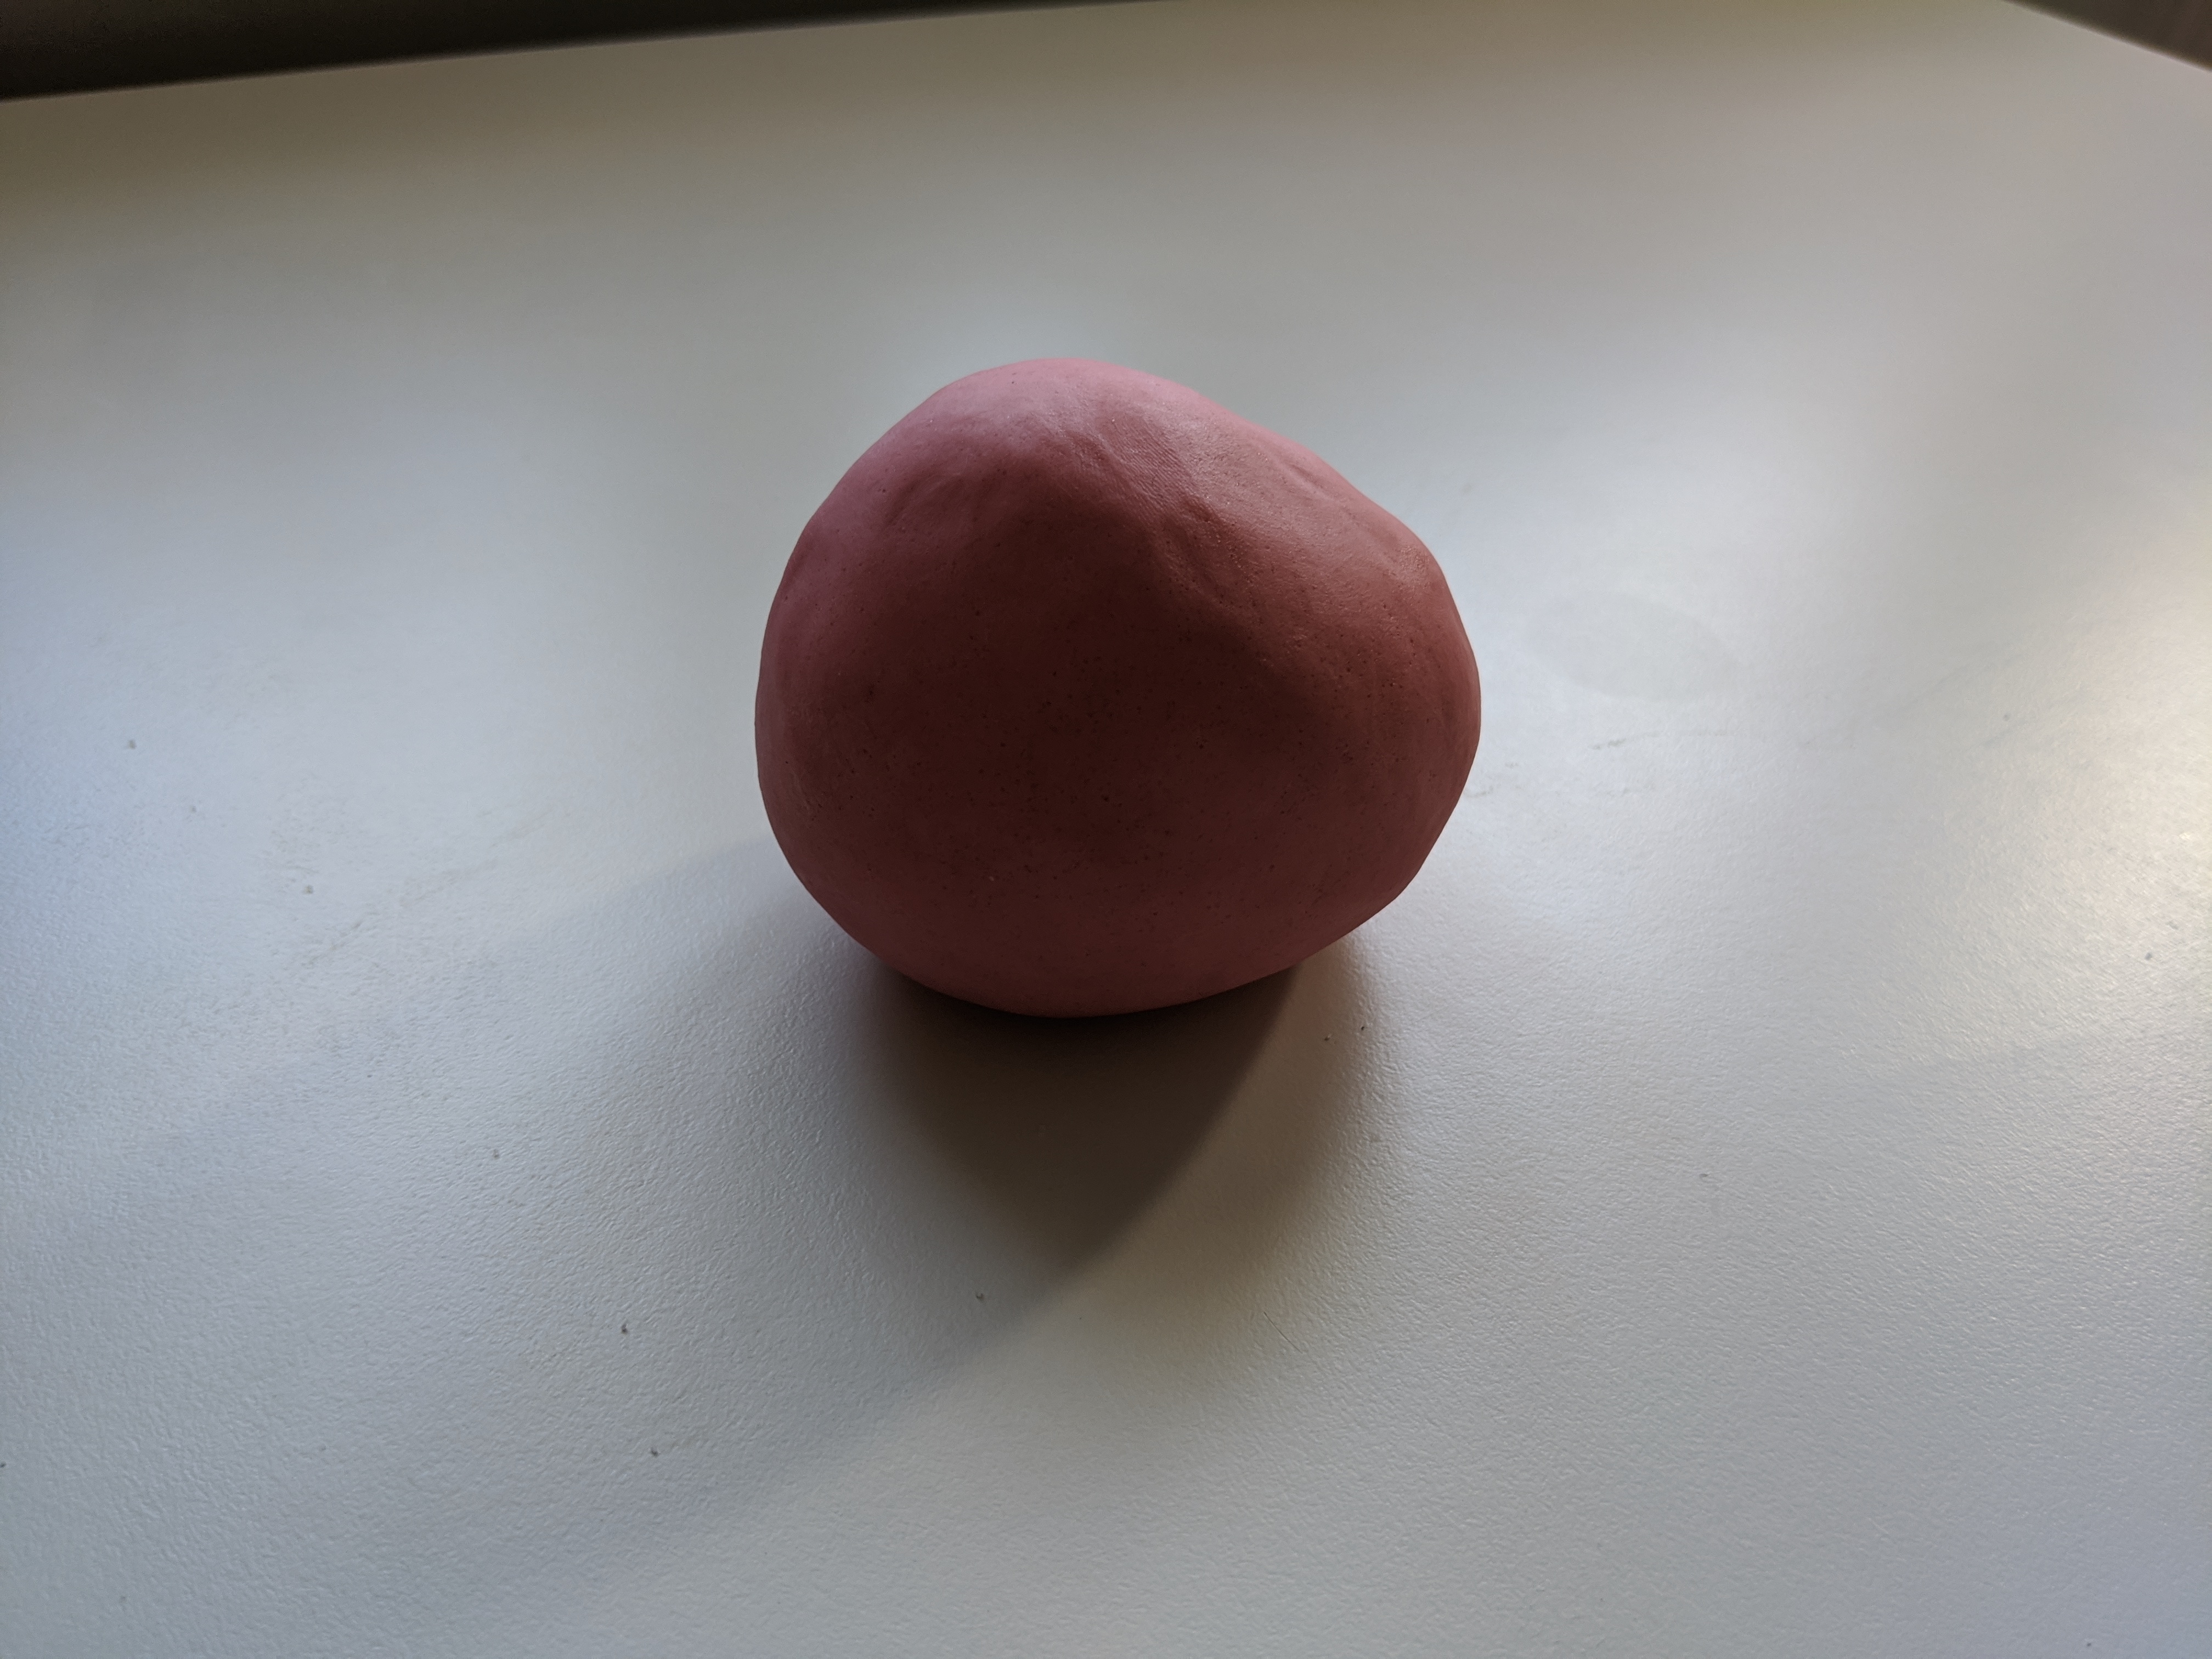
In a large bowl, add the water and optional food colouring. Next add the salt and stir well. Then add the flour and knead until everything is mixed together, which takes about 10 minutes. If the mixture is flaky or cracking add a little bit more water and continue kneading. The smoother the modeling clay, the easier this project will be! Please do not eat this – it is gross and might make you sick.
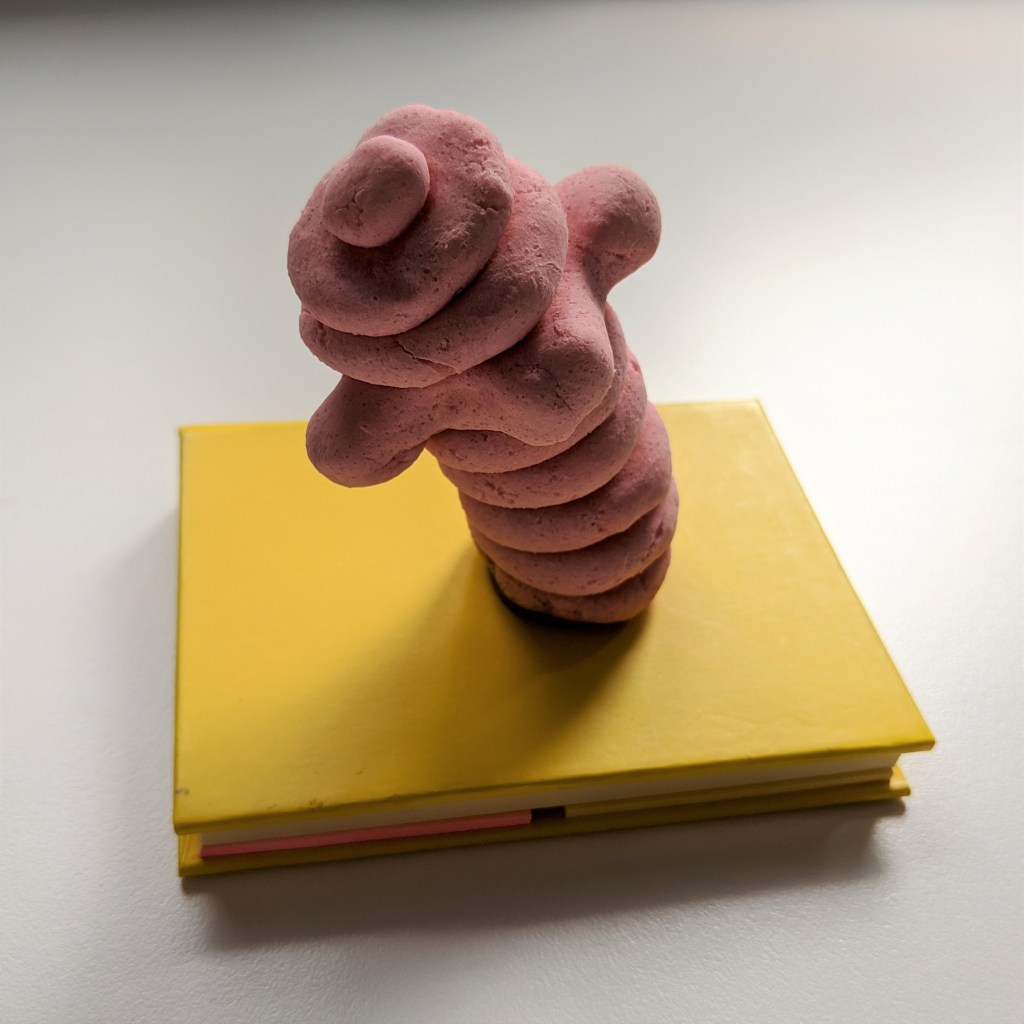
During this activity we will build a 3D object using modeling clay, and then bake it in the oven to harden it. I decided to build a fire hydrant like the one in If: Ball, Then: Catch when Sparky is counting cats. Let’s get started!

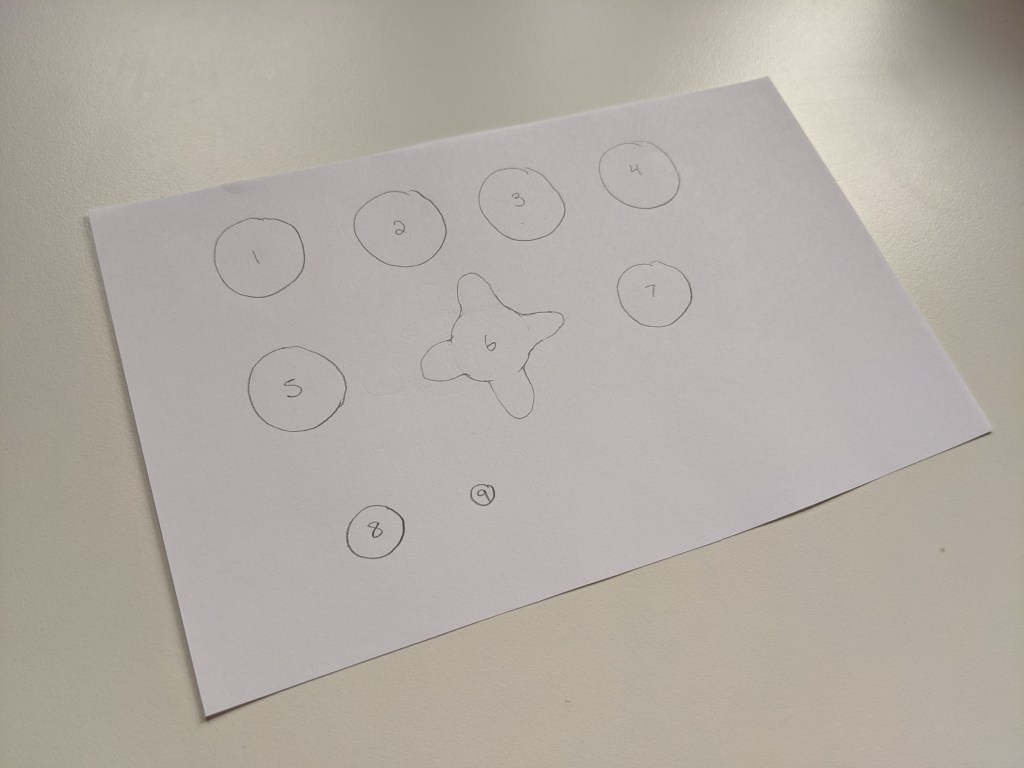
The idea of 3D printing is to build your object up layer by layer. Each new layer is printed on top of the previous layer, and over time you build up a 3D object. I built the fire hydrant using nine different layers of modeling clay.

After building the fire hydrant, I baked it in the oven at 350°F for about 1 hour until it became hard. In 3D printing, some materials will harden in the air. Other materials will need to be baked or “cured” so that they can harden.
My fire hydrant tipped over in the oven, but that’s okay! I think that makes it more interesting.
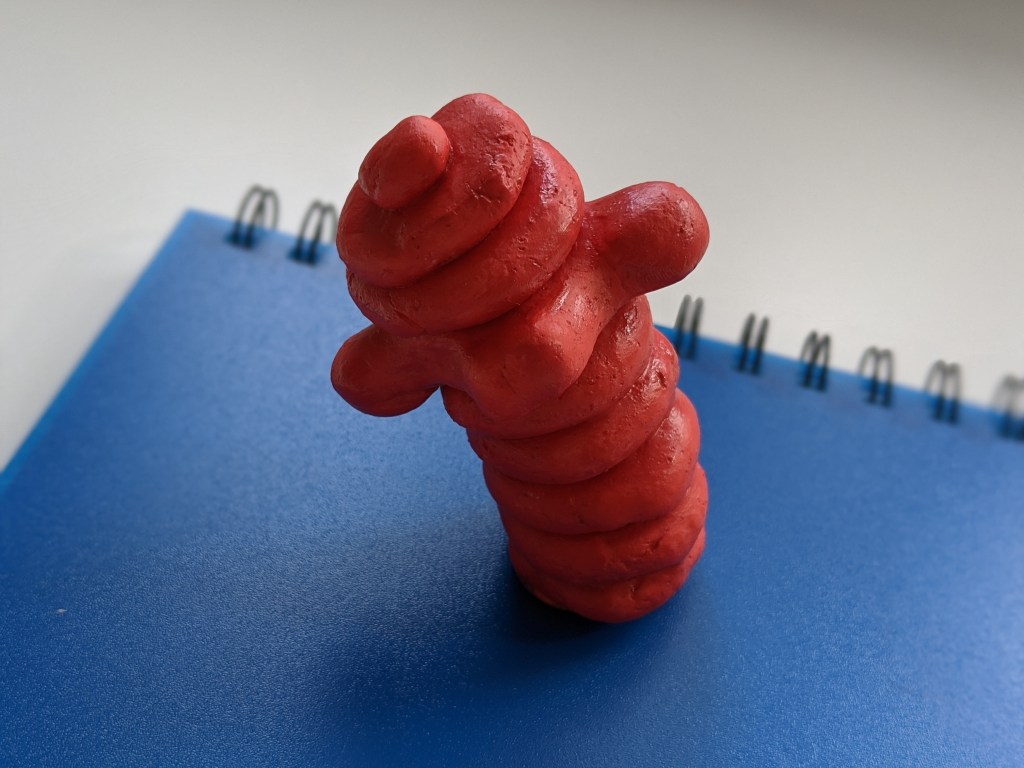
Once my fire hydrant was completely cooled off, I added some details with paint. Ta-da!
Based on my design, I created a set of instructions that someone else could use to copy my fire hydrant (if you are interested, the template is here). Computers use instructions like these to tell them how to print an object. These instructions contain information like what material to use, how to move, and when to print.
Now it’s your turn! Think of what you would like to build, then make your model(s) layer by layer. You could also try making a set of instructions and then exchanging them with a partner (it’s neat to see what happens when someone else tries to build your design!). Bake your objects in the oven at 350°F for about 1 hour, then decorate once completely cooled. I hope you have fun! Check out the next blog post where I will talk about some more detailed 3D printing concepts. This activity is based on the book If: Ball, Then: Catch.
